Calibration Setup
The user can change and set the calibration values for each sensor.
It is also possible to
|
•
|
select whether the Cal Due screen is displayed |
|
•
|
set the number of days until the next calibration is due |
|
•
|
select whether the device password screen is displayed to protect Bump and Calibration operations |
For more information, see the flow charts in Calibrations.
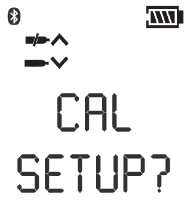
Figure 5 Calibration Setup
|
1.
|
To bypass this setup, press the q or p button; otherwise, continue as follows. |
|
2.
|
Press the  button to enter the submenu. button to enter the submenu. |
The calibration gas concentration of the first sensor is shown.
|
3.
|
Press the q or p button to change the value. |
|
4.
|
Press the button to store the value. |
Setup screen for the next sensor is displayed.
|
5.
|
Repeat the procedure for all other sensors. |
After setting the last sensor, the user is prompted to set CALDUE.
|
6.
|
Press the q or p button to enable or disable CALDUE. |
|
7.
|
Confirm with the button. |
|
8.
|
If CALDUE is set on, press the q or p button to select the number of days |
|
9.
|
Confirm with the button. |
|
10.
|
Press the q or p button to enable or disable the calibration password (CAL PW) screen. |
|
11.
|
Confirm with the button. |
|
12.
|
After confirmation, continue to Alarm setup. |