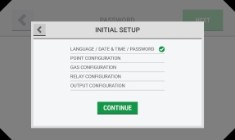
Language/Date & Time/Password
|
|
|
|||||||||
|
|
When a language is selected, the change is instantaneous. |
|||||||||
|
|
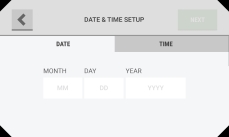
The date format can be MM/DD/YYYY or DD/MM/YYYY depending on the language setting. |
|||||||||
|
|
|
|||||||||
|
|
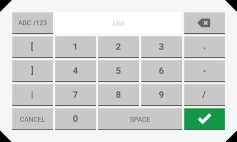
NOTE: An entry for the date is necessary to continue. If this error pop-up shows, select "OK" to return to the previous screen and supply a value. |
|||||||||
|
|
|
|||||||||
|
|
The time format can be 12 hours (AM/PM) or 24 hours depending on the language setting.
|
|||||||||
|
|
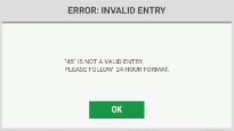
NOTE: A valid entry for the time is necessary to continue. If this error pop-up shows, select "OK" to return to the previous screen and supply a value. |
|||||||||
|
|
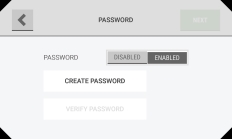
If password protection is disabled, the "Create Password" and "Verify Password" fields are inactive.
NOTE: If password protection is enabled, do the following:
|
|||||||||
|
||||||||||
|
|
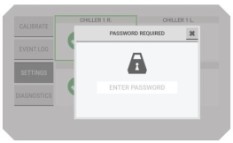
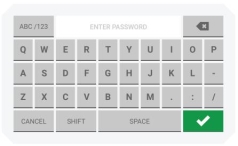
NOTE: If password protection is enabled, the "Password Required" pop-up will show when any user tries to change an editable screen. |
|||||||||
|
|
|

 to accept the values.
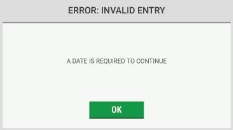
 to accept the values.
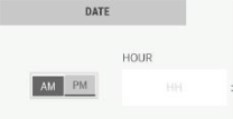
 to accept the value.
 to accept the value.